Transfer of MMP Videos
This is an example of the quickest way to transfer a meeting recording (e.g., an MMP recording, face-to-face or via Teams) to the appropriate Teams folders.
On your laptop, visit the following link: https://cranstoun-my.sharepoint.com/
This will open a way to view the OneDrive folders on your laptop.
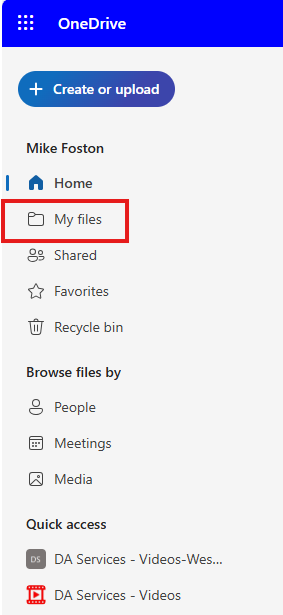
Click on My Files
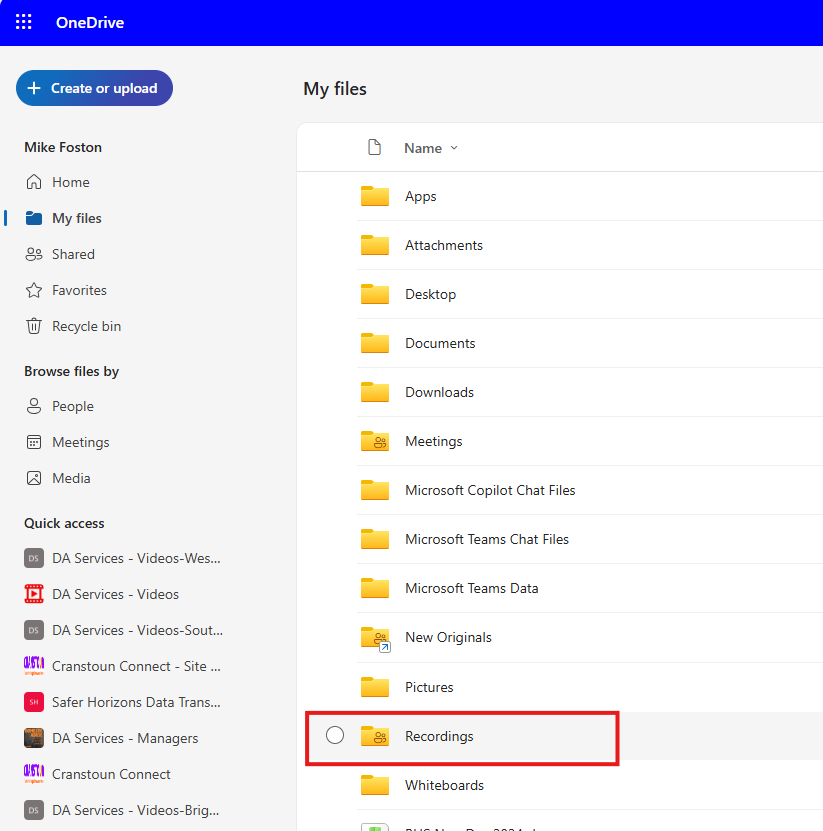
Find the folder that contains your videos; it's often called Recordings, but you might be keeping yours elsewhere.
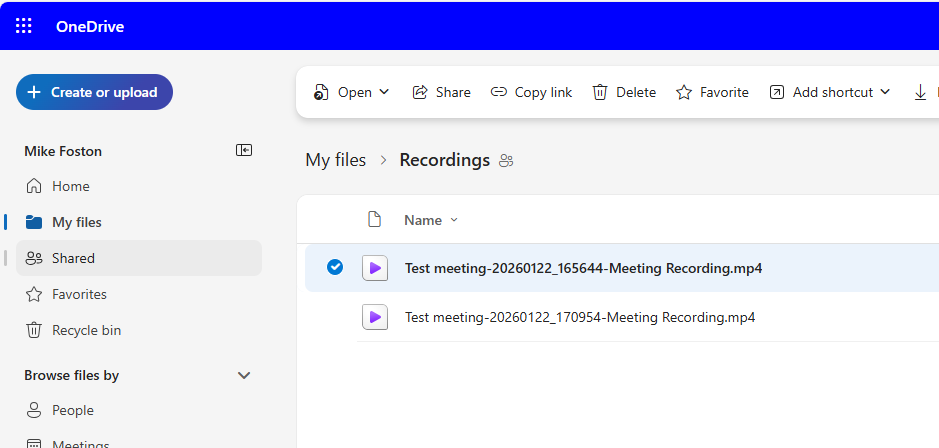
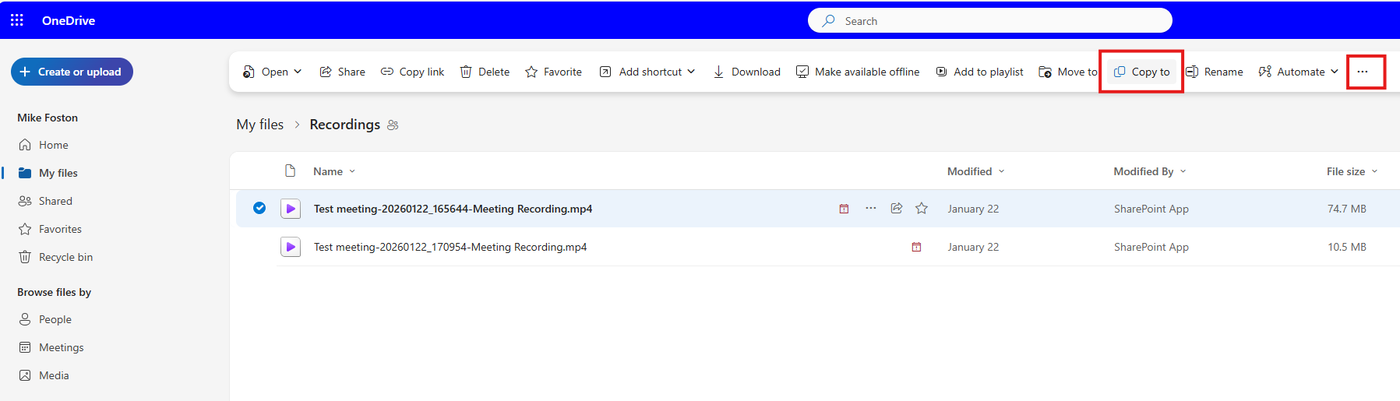
Select the file you want to transfer. You can select multiple files, but only if they all need to be moved to the same folder.
Select the “COPY To” option from the toolbar. On a smaller screen, you may need to click the 3 dots icon to find the “COPY To”
Find the location to move it to, which will probably be in your quick links section. You can pin the default folder for your Teams videos with the pin icon.
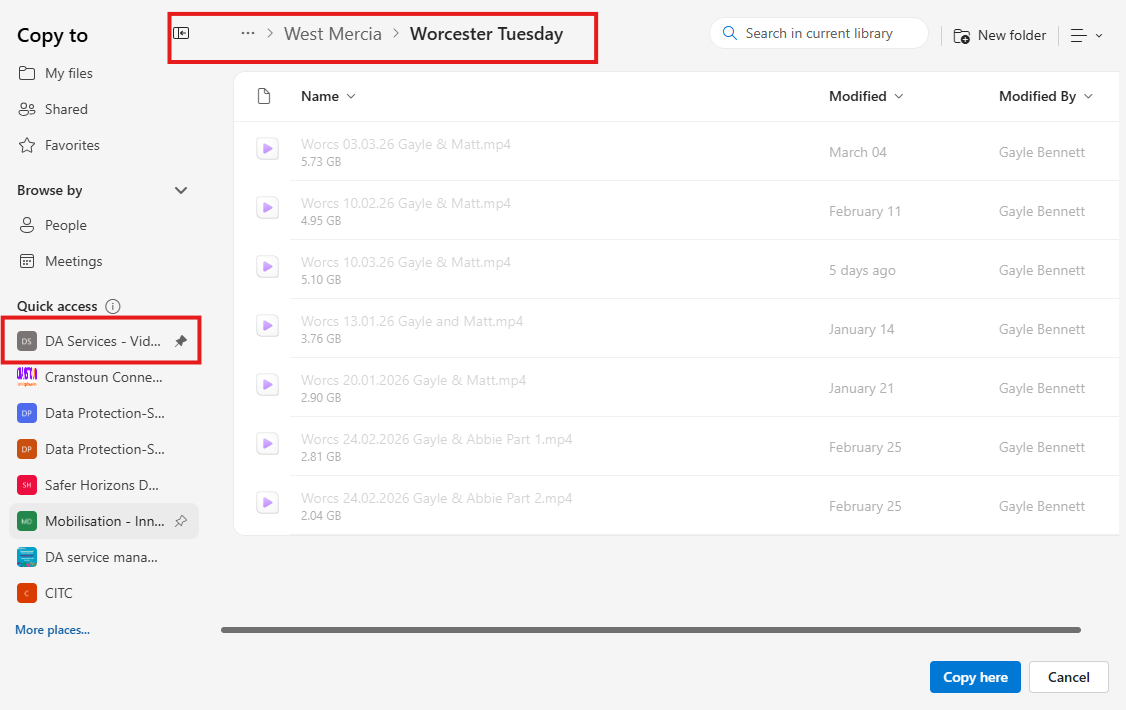
Find the right folder for your particular video(s), and select it
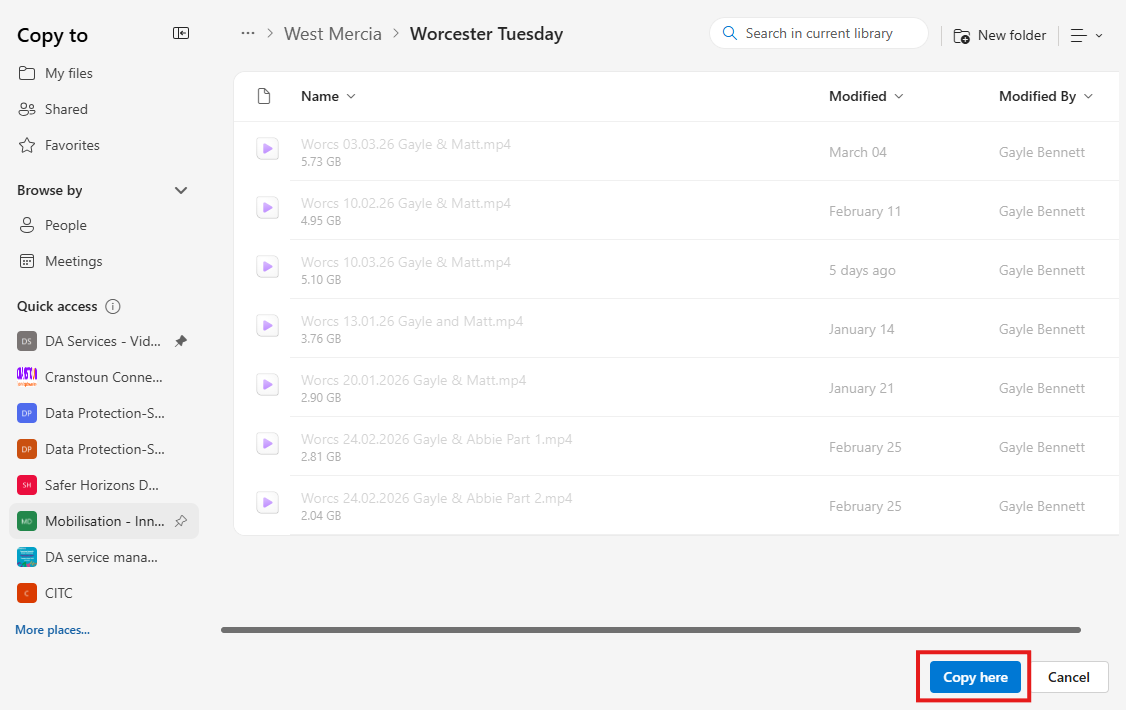
Once you’ve found the correct folder, click COPY HERE, and the file will be moved to the new location in the background; you don’t need to wait.
Once the file has moved, it will no longer be on your laptop, only in the Teams folder. This happens on SharePoint, not your laptop. If the transfer fails, the file won’t be removed from your laptop, so any files there should be new and waiting to be transferred.
If you have other videos to go to different folders, simply repeat this process for each file/folder.